Summary:
-
GreaseBoss Endpoints are designed to have long battery lives, up to 5 years.
-
The battery life can be adversely affected under some conditions and in rare cases be prematurely depleted.
-
For example, if an Endpoint is set to report more frequently the battery is proportionally depleted.
-
This procedure covers how to quickly change a battery in the field if required.
Endpoint Battery Cell:

Detecting issues:
The voltage can be investigated in the GreaseBoss platform in the site explorer diagnostic tab:
-
Any voltage over 2.9 vdc is normal. No action required.
-
Between 2.9 and 2.6vdc the battery is dangerously low. Replacement recommended.
-
2.5vdc or below the battery is depleted and the device may not longer function. Replacement required.

Procedure:
✅ Tips, Tools and Preparation
-
Determine the appropriate location to perform the procedure:
-
Preferably, an Endpoint battery change can be done in position if practical.
-
Alternatively, the device can be fully removed, and battery replacement is done as required.
-
Take care NOT to introduce any contamination throughout this process.
-
-
Site approved aerosol brake cleaner (wearing eye protection) is a fast and efficient way to clean surfaces and clear debris from screw heads.
-
You will require a 2.5mm hex key Allen head (hand tool - do not use power tools or overdriven screws may damage the devices seal integrity).
-
Obtain a replacement endpoint battery cell from GreaseBoss
- Clean the surfaces of the endpoint.
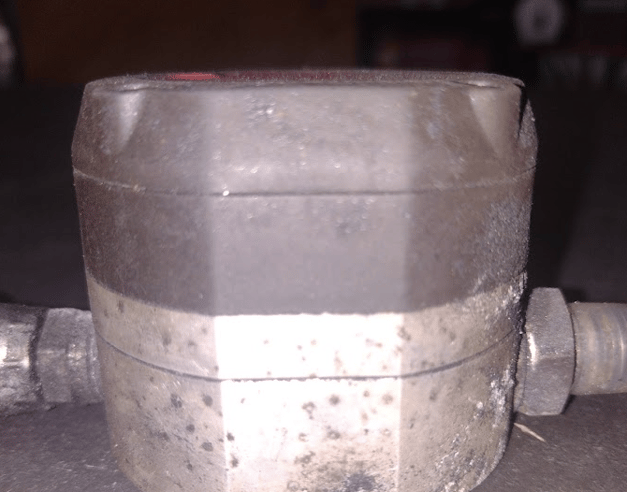
Focus on the seal between faceplate and midlayer.
Clear out the hex screws to ensure an Allen key can fully seat to avoid rounding.

2. Use a hex 2.5mm allen key to unscrew the face plate 4 x hex screws - note these are captive screws and are not fully removed.

3. When removing the face plate, take care not to lose the Oring—retain it for reuse. Replace it if damaged.

4. Place the faceplate on a flat surface to reveal the battery holder.
-
-
Use a non-conductive tool to carefully press the battery out towards the outer edge until it is free from the holder.

-
5. Place a new battery into the holder - you may see some bootup LED flashes; no action is required.
6. Ensure the Oring is in position.
7. Position the faceplate back on the body and evenly tighten the screws down until the faceplate is seated and all faces are mated.

8. DO NOT OVERTIGHTEN THE SCREWS or damage to the plastic components may occur.
Estimated tension to slightly beyond finger tight by hand tool.
(If possible, tension to 0.7 Nm)
9. Verification:

-
-
Press the button briefly to confirm power is available.
-
You should see a brief green LED illuminate.
-
if OK, proceed to return to service.
-
If not, contact support@greaseboss.com.au and DO NOT return to service
-
10. Return the unit to service.
-

- 11. Advise support@greaseboss.com.au the unit (record the serial number) has had a battery change and include the date.

Procedure complete.