|
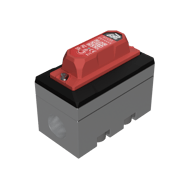
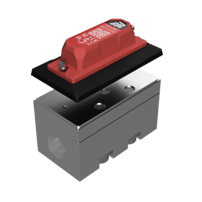
ENDPOINT LOW FLOW MODEL: LF4XX |
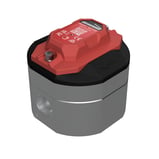
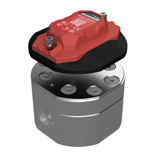
ENDPOINT HIGH FLOW MODEL: HF4XX |
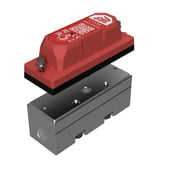
ENDPOINT BULK FLOW MODEL: BF4XX |
|
|
|
|
|
|
|
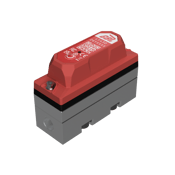
This installation guide provides instructions on how to replace the Top of LF4XX, HF4XX or BF4XX GreaseBoss Endpoint products.
| 1: ENSURE ALL DEVICES AND POWER SOURCES TO THE GREASE PUMP AND GREASE SYSTEM ARE FULLY ISOLATED PRIOR TO COMMENCING WORK | 
|
| (Please take photos of each installation step and provide to GreaseBoss for effective support. Include a photo of the GreaseBoss Endpoint Serial Number.) | |
| 2: IMPORTANT - CONFIRM SERIAL NUMBERS. | |
| IMPORTANT – The replacement Top is calibrated specifically for the Flow Meter it is being installed on to. GreaseBoss must be advised of the Serial Number of the unit being replaced, and the new Top must be installed on that same Flow Meter. | |
| 3: INSTALLATION PROCESS | |
|
Parts & Tools |
Included:
User supplied:
|
|
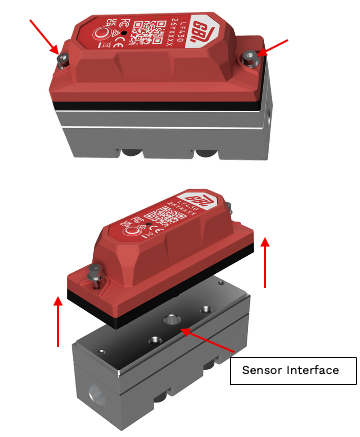
3.1: Undo the 2x Hex Head Bolts to remove the Top to be replaced from the Flow Meter.
Tool Required LF4XX, HF4XX: 2.5mm Hex Drive BF4XX: 4mm Hex Drive |
|
|
3.2: Ensure the face of the Flow Meter and the Sensor Interface is clean and clear of debris. Apply cleaning fluid and wipe clean if required. Ensure the face of the Flow Meter is clean and dry before attaching the replacement top. |
|
|
3.3: Ensure surface of the Replacement Top that will mount to the Flow Meter is clean and clear of debris. |
|
|
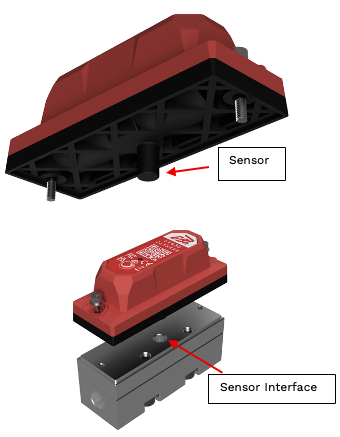
3.4: Position the Replacement Top to align the sensor with the sensor interface on the Flow Meter. |
|
|
3.5: Attach the Replacement Top to Flow Meter. Using a Torque Screwdriver, tighten the 2x Mounting Screw to 1Nm Torque Force. |
|
| 4: SYNC ENDPOINT TO GATEWAY | |
| 4.1: Sync Endpoint to Gateway |
|
|
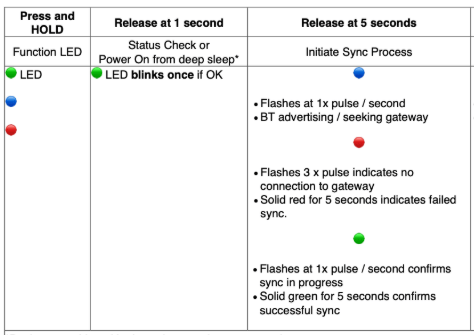
4.2: Button Push & LED Sequence Guide
|
|
| 4.3: Map Endpoint Serial Number to Cloud |
|
| 3.4: Check Endpoint Data in the GreaseBoss Cloud |
|
| 5: RETURN OR DISPOSAL INFORMATION | |
| 5.1: Return to GreaseBoss |
|
| 5.2: Disposal |
|